A dripping tap might seem like a minor annoyance, but that constant drip-drip-drip can waste gallons of water and inflate your utility bills significantly. The good news is that learning how to fix a leaking tap at home doesn’t require professional plumbing skills or expensive tools. With just a basic understanding of how taps work and a few simple tools, you can tackle this common household problem yourself and save both water and money in the process.
Understanding Why Your Tap is Leaking
Before you start any repair work, it helps to understand what causes taps to leak in the first place. Most leaking taps develop problems due to worn-out internal components that deteriorate over time with regular use. The most common culprits are damaged washers, worn O-rings, corroded valve seats, or loose parts inside the tap assembly. Hard water minerals can also build up over time, causing seals to fail and components to stick or wear unevenly.
When you turn a tap on and off repeatedly over months and years, the internal washers and seals compress and expand constantly. This mechanical action eventually causes these rubber or silicone components to crack, harden, or develop grooves. Once these seals lose their ability to create a watertight barrier, water begins to seep through even when the tap is fully closed. Understanding this mechanism helps you approach the repair with confidence, knowing that you’re simply replacing a worn part rather than dealing with a complex plumbing emergency.
Gathering the Right Tools Before You Fix a Leaking Tap at Home
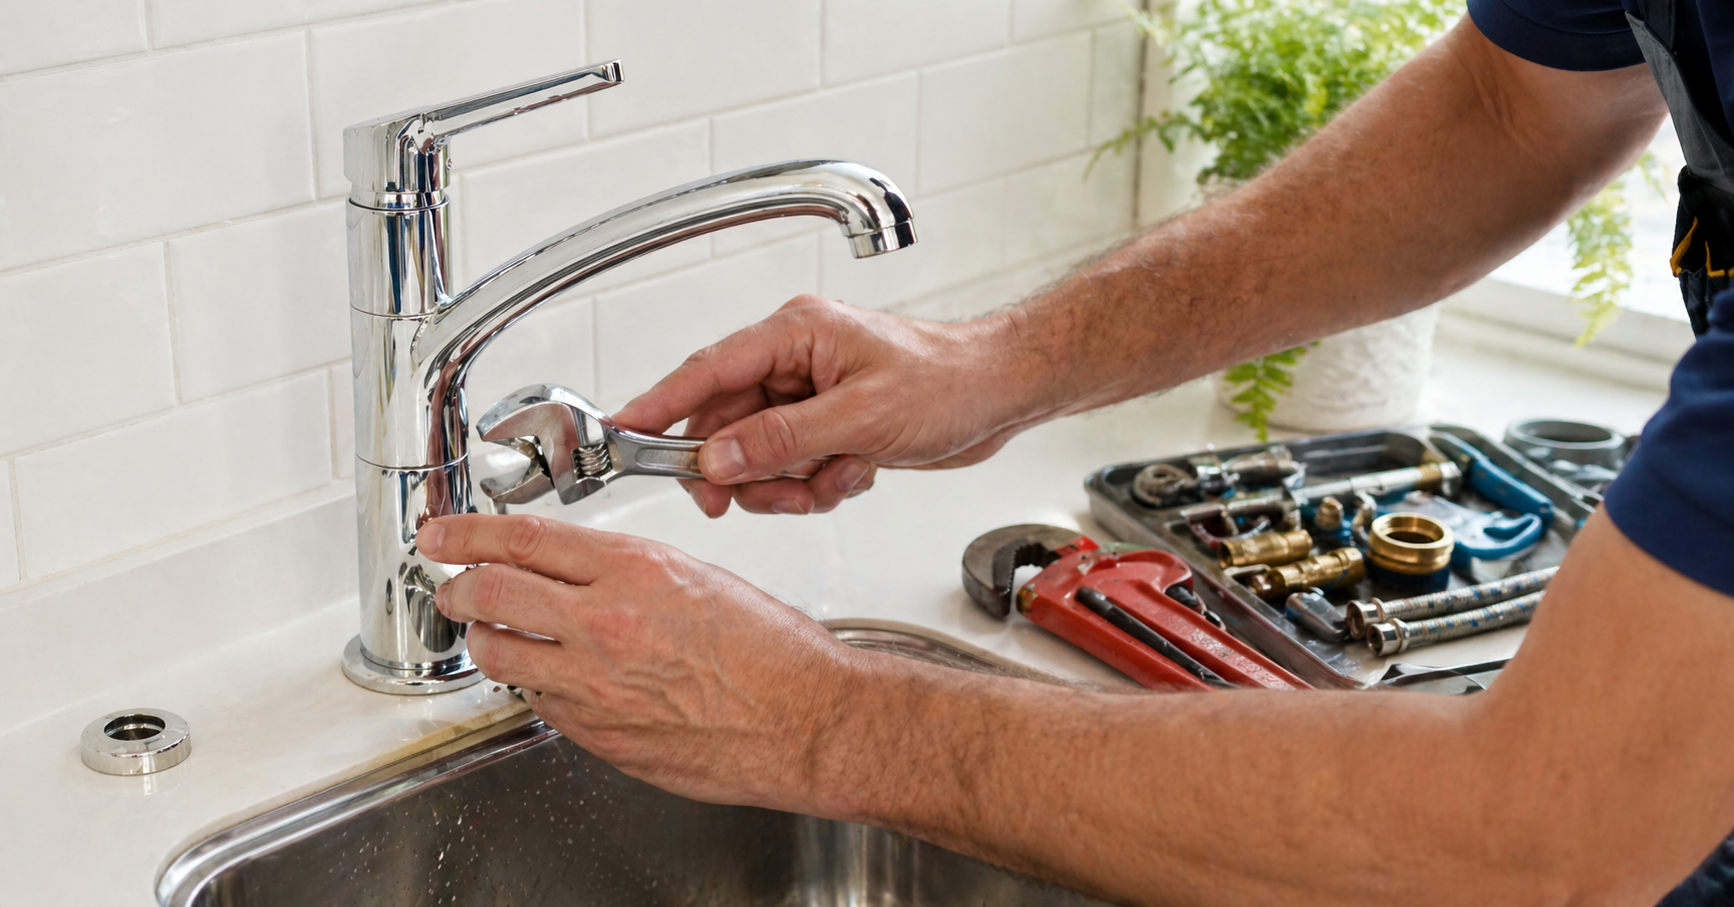
Having the correct tools ready before you begin makes the repair process much smoother and prevents frustrating mid-project trips to the hardware store. For most basic tap repairs, you’ll need an adjustable wrench or a set of spanners in various sizes. A flat-head and Phillips-head screwdriver are essential for removing handle screws and decorative caps. You should also have a pair of pliers, preferably with protected jaws to avoid scratching chrome finishes.
Beyond these basic tools, keep some old towels or rags handy to catch water and protect your sink surface. A small flashlight helps you see into dark spaces under the sink, and a bucket or bowl will catch any water remaining in the tap body when you disassemble it. If you’re working with an older tap, penetrating oil can help loosen stubborn, corroded parts. Finally, take your old washer or cartridge with you when buying replacements to ensure you get the exact match your specific tap model requires.
Shutting Off the Water Supply Safely
The first and most critical step when you fix a leaking tap at home is turning off the water supply to prevent flooding your kitchen or bathroom. Look under your sink for individual shut-off valves, which are usually located on the water supply lines leading to the tap. These small valves typically turn clockwise to close. If your sink doesn’t have individual shut-off valves, you’ll need to locate your home’s main water shut-off valve, often found in the basement, garage, or near the water meter.
After closing the valves, turn the tap handles to the open position to release any remaining water pressure in the lines. This step prevents unexpected water spray when you start disassembling the tap. Let the water drain completely, then place a plug in the sink drain to prevent small screws, washers, or other components from accidentally falling down the drain during your repair work. Taking these precautions might seem excessive, but they save you from potential disasters that could turn a simple repair into a major headache.
Removing the Tap Handle to Access Internal Components
Most tap handles are held in place by a single screw hidden beneath a decorative cap or button that displays hot or cold indicators. Use a flat-head screwdriver or your fingernail to gently pry off this cap, revealing the screw underneath. Remove this screw carefully and set it aside in a small container so it doesn’t get lost. Some modern taps use a grub screw on the side or back of the handle instead, which requires an Allen key to remove.
Once the screw is out, the handle should lift off easily, though older taps might need a gentle wiggling motion to break free from mineral deposits. If the handle seems stuck, avoid using excessive force that could crack the ceramic or plastic. Instead, apply a small amount of penetrating oil around the base and wait a few minutes before trying again. With the handle removed, you’ll see the packing nut or bonnet that holds the valve stem in place. This is your gateway to the internal components causing the leak.
Inspecting and Replacing Worn Washers
The most common reason you need to fix a leaking tap at home is a deteriorated washer at the bottom of the valve stem. After removing the packing nut with your wrench, carefully lift out the valve stem assembly. At the bottom of this stem, you’ll find a rubber or fiber washer held in place by a small brass screw. This washer creates the seal that stops water flow when you turn the tap off.
Examine this washer closely for signs of wear such as cracks, hardening, grooves, or distortion. Even if the damage isn’t immediately obvious, replacing the washer is inexpensive insurance against future leaks. Remove the brass screw holding the old washer, noting whether it has a flat or beveled design so you can match it correctly. Clean the washer seat on the valve stem with a cloth to remove any debris or mineral buildup. Install the new washer, ensuring it sits flat and centered, then tighten the brass screw firmly but not so tight that you damage the new washer.
Checking the Valve Seat for Damage

Even with a new washer installed, your tap might continue leaking if the valve seat inside the tap body is damaged or corroded. The valve seat is the part the washer presses against to create a watertight seal. Over time, mineral deposits and sediment can corrode this metal surface, creating an uneven texture that prevents proper sealing. Use your flashlight to examine the valve seat inside the tap body for pitting, roughness, or mineral buildup.
If you notice minor roughness or deposits, you can use a valve seat wrench or a seat dressing tool to smooth the surface. These inexpensive tools remove a thin layer of metal to create a fresh, flat sealing surface. Insert the tool into the valve seat and turn it a few times clockwise, applying gentle downward pressure. Clean out any metal shavings with a damp cloth before reassembling. If the valve seat is severely corroded or damaged, some tap models allow you to replace the entire seat using a seat removal tool. This extra step when you fix a leaking tap at home ensures your repair lasts for years rather than months.
Dealing with Cartridge-Style Taps
Modern single-handle taps typically use a cartridge system rather than traditional washers, and the repair process differs slightly. If you have a cartridge tap, you’ll need to remove the handle and any decorative escutcheon or collar covering the cartridge. The cartridge itself is usually held in place by a retaining clip or nut that you can remove with pliers or a wrench.
Once exposed, carefully pull the cartridge straight out, taking note of its orientation because the replacement must go back in exactly the same way. Cartridges have specific hot and cold alignments, and installing one backwards will reverse your tap operation. Take the old cartridge to a plumbing supply store to ensure you get the correct replacement, as cartridges vary significantly by manufacturer and model. When you install the new cartridge, make sure any alignment tabs or notches match up properly, then reassemble the tap in reverse order of disassembly.
Addressing O-Ring Problems in Your Leaking Tap
If your tap leaks from around the handle base or spout rather than from the faucet itself, worn O-rings are likely the problem. These small rubber rings create seals at various points in the tap assembly to prevent water from escaping where components connect. When you have the tap disassembled to fix a leaking tap at home, examine all visible O-rings for cracks, flattening, or deterioration.
O-rings come in various sizes, so either bring the old ones to match at the hardware store or purchase an assortment kit specifically designed for tap repairs. Before installing new O-rings, apply a small amount of plumber’s grease to them. This lubrication helps them slide into place without rolling or twisting and creates a better initial seal. Make sure O-rings sit properly in their grooves without being pinched or twisted, as improper installation can cause leaks even with brand-new parts.
Reassembling Your Tap Correctly
Once you’ve replaced the necessary components, reassembly requires attention to detail to ensure everything works properly. Start by carefully lowering the valve stem or cartridge back into the tap body, making sure it aligns correctly with any guides or notches. Thread the packing nut or retaining mechanism back on by hand first to avoid cross-threading, then tighten it with your wrench. The nut should be snug but not over-tightened, as excessive force can damage the new components you just installed.
Replace the handle by aligning it with the valve stem and securing it with the screw you removed earlier. Make sure the handle is positioned correctly for your hot and cold orientation before tightening completely. Snap the decorative cap back in place, then slowly turn the water supply back on while watching for leaks. Turn the supply valves on gradually rather than opening them fully all at once, as sudden water pressure can sometimes dislodge components that aren’t quite seated properly. Let the water flow for a minute, then turn the tap off and check carefully for any drips or moisture around all connection points.
Testing Your Repair and Final Adjustments
After you fix a leaking tap at home, thorough testing ensures your effort was successful and prevents unpleasant surprises later. With the water supply restored, turn the tap on and off several times, checking for smooth operation and complete shutoff. Look underneath the sink while the tap is running to verify that no leaks have developed at the supply line connections that you disturbed during your repair.
Let the tap sit in the off position for at least 15 to 20 minutes while you observe the spout for any drips. Some minor dripping immediately after repair is normal as residual water in the spout drains out, but this should stop within a minute or two. If you notice continued dripping, you may need to slightly tighten the packing nut or verify that the washer is properly seated. Check around the handle base and spout connections for moisture that might indicate O-ring problems. Wipe these areas dry, wait a few minutes, then check again to distinguish between leftover water from your work and actual leaks.
Preventing Future Tap Leaks
Now that you’ve successfully completed your repair, a few simple maintenance habits can extend the life of your tap and delay future problems. Avoid using excessive force when turning taps on and off, as overtightening wears out washers and seals faster. The gentle resistance you feel when closing a tap is sufficient to create a watertight seal. Training everyone in your household to use taps gently can add years to their functional life.
If you live in an area with hard water, mineral buildup accelerates tap wear and can cause premature failures. Consider installing a water softener or at least periodically removing and cleaning aerators and internal components to prevent mineral accumulation. When you notice a tap becoming harder to turn or developing slight drips, addressing the issue promptly prevents minor problems from becoming major repairs. Keeping spare washers and O-rings in your home maintenance kit means you can fix a leaking tap at home quickly whenever needed, before small drips turn into wasteful streams.
FAQs
How long does it take to fix a leaking tap at home?
For someone tackling this repair for the first time, expect the process to take between 30 minutes to an hour, depending on tap type and accessibility. This includes turning off the water, disassembly, parts replacement, and reassembly. With experience, you can complete simple washer replacements in about 15 minutes.
Can I fix a leaking tap without turning off the main water supply?
You should always turn off the water before attempting tap repairs. Most sinks have individual shut-off valves under the basin that control just that fixture, so you won’t need to shut off water to your entire home. Skipping this step risks flooding and makes the repair nearly impossible to complete safely.
How much money can I save by fixing a leaking tap myself?
Professional plumbers typically charge between $150 to $300 for a simple tap repair, including service call fees and labor. The parts needed for a DIY repair usually cost under $10, meaning you can save significant money. Additionally, fixing the leak quickly prevents water waste that can add $20 to $50 monthly to your water bill.
What if my tap still leaks after replacing the washer?
If leaking continues after washer replacement, the valve seat is likely damaged or corroded. You’ll need to resurface or replace the valve seat, or the entire tap assembly might need replacement if internal components are severely worn. Sometimes leaks from the spout actually originate from failed O-rings rather than the washer.
Do all taps use the same size washers and parts?
No, tap components vary significantly by manufacturer, model, and age. Always bring your old parts to the hardware store for matching, or know your tap’s make and model. Many stores have sizing tools and knowledgeable staff who can help identify the correct replacement parts for your specific tap.
CONCLUSION
Learning how to fix a leaking tap at home empowers you to handle one of the most common household maintenance issues quickly and affordably. This straightforward repair requires no special plumbing expertise, just basic tools, the right replacement parts, and careful attention to the disassembly and reassembly process. By following the steps outlined in this guide, you can stop annoying drips, prevent water waste, and avoid expensive plumber service calls.
The confidence you gain from successfully completing this repair extends beyond just taps. You’ll find that many household maintenance tasks are more accessible than they initially appear, and the skills you develop troubleshooting and fixing a leaking tap at home translate to other DIY projects. Remember to work methodically, take photos during disassembly if needed, and don’t hesitate to ask for help identifying parts at your local hardware store. With a little patience and the right approach, you’ll have your tap working like new in less time than it would take to schedule a plumber, and you’ll save money while gaining valuable home maintenance skills that last a lifetime.